
An act of problem-solving
When taking on a creative project, it helps to engage your problem solving skills. I experienced lots of this in creating my music video for “Underwater Basket Weaving.”
📺 Love the video? Subscribe to my YouTube channel to keep 'em coming!
When Amy and I wrote the song, I immediately envisioned some green screen magic giving the appearance I'd be weaving a basket underwater. For the singing and instrumental parts I went through a fairly long process of elimination to get to the final video you see here.
I originally reached out to a couple who actually captured video of themselves experimenting with weaving baskets underwater in their pool. I thought if they provided footage of them, plus a background that appeared to be poolside, I could appear to be performing by their pool while they did their weaving underwater. I knew the odds of a response were not in my favor, as that video was from years ago. I turned out unfortunately to be correct about that, so I had to re-think the video's premise.
Next I thought about appearing to be singing underwater, but that image would completely lack credibility to the point of distraction. I looked for images where I could appear to be on board a boat from which people might SCUBA dive. But the angles, camera movement and proportions, if combined with my green screen images would have proven too unrealistic. I considered a dock as a location, but suspected I'd encounter the same problems.
Then, because the song is as much about a mythical college course as much as it is about being underwater, I considered appearing to be on campus. For this I'd need a background that didn't have people in it. Most campus stock images depict students. So any still image would have people frozen in time while I sing or play in the foreground. This would not have worked.
If I was going to use still backgrounds representing a college campus I figured I'd look for lecture hall images, which would appear more like a location recognizable as a college setting.
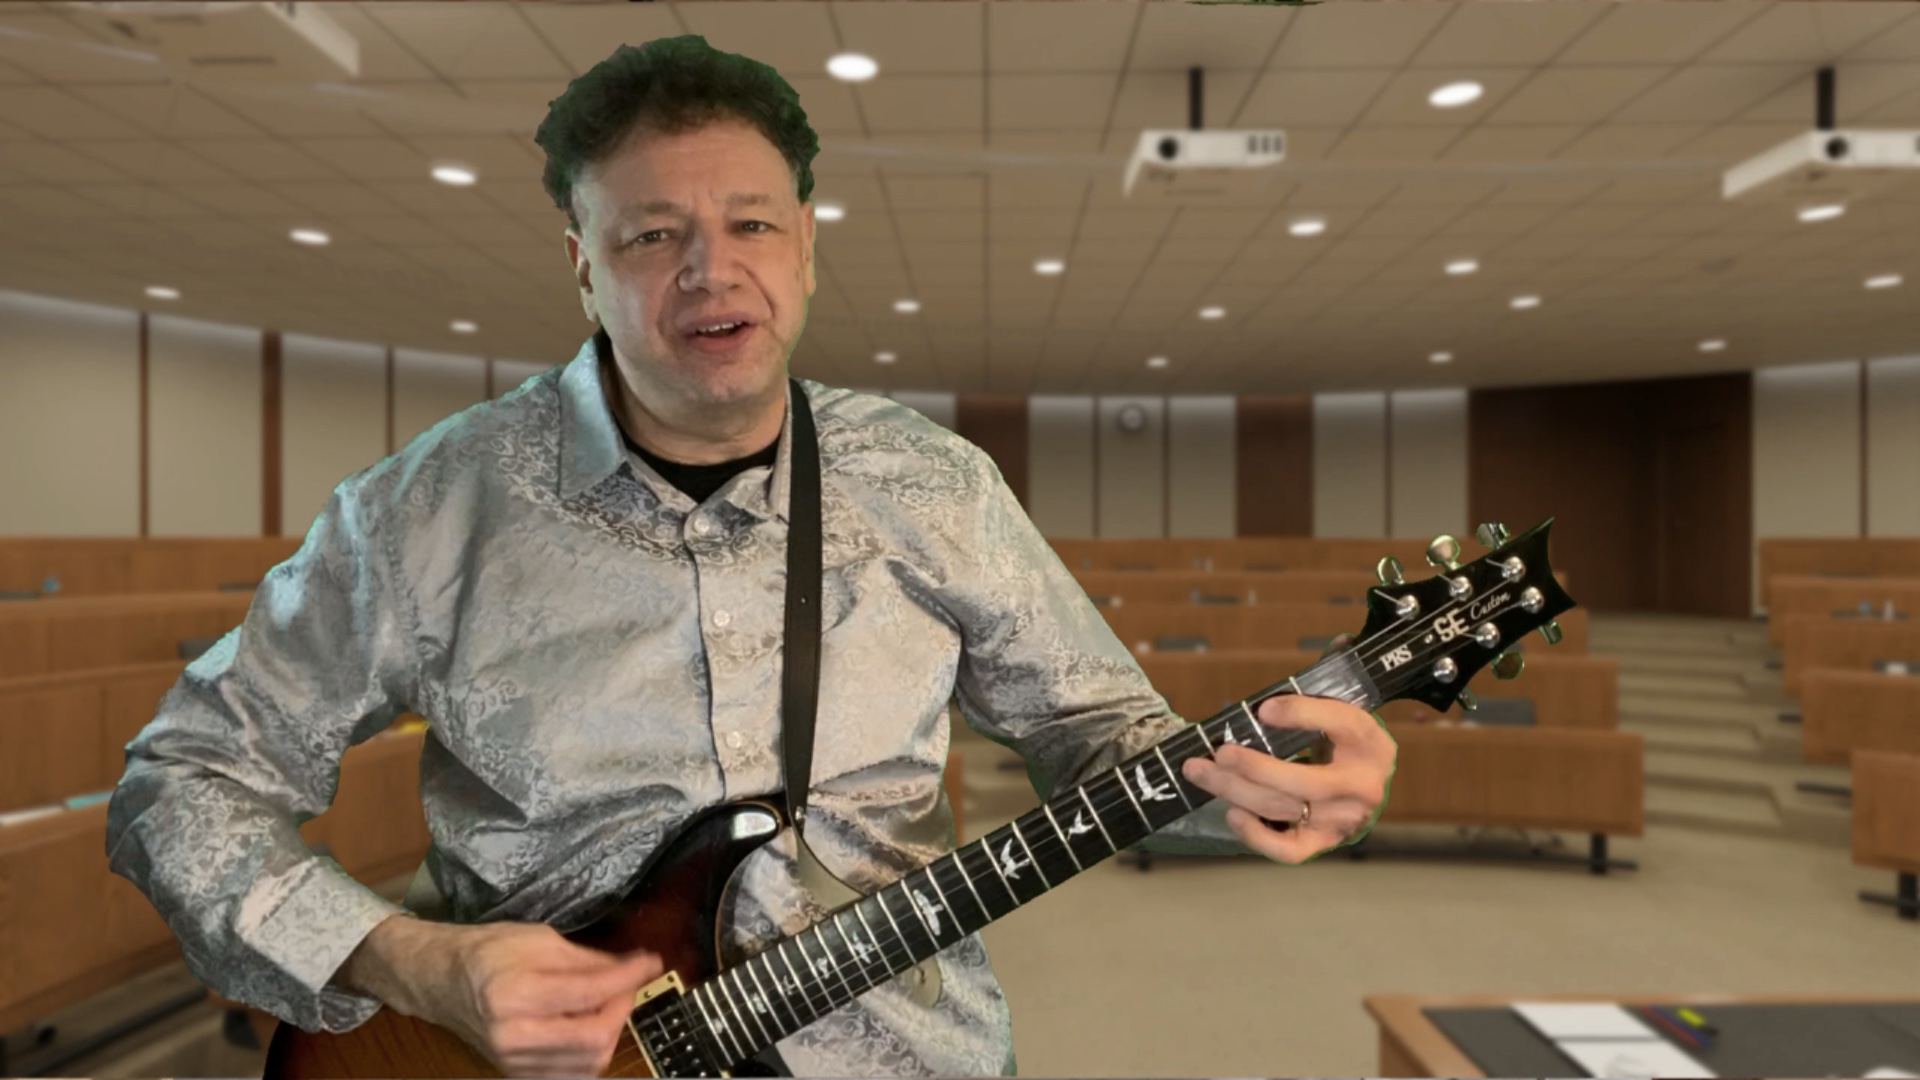 |
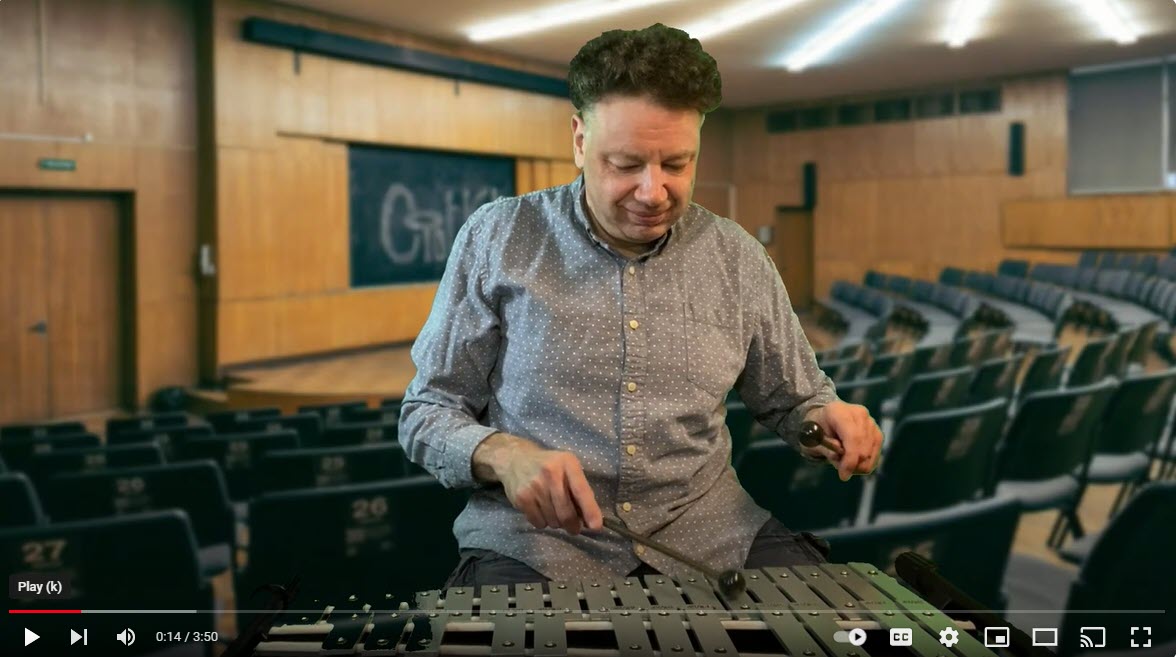 |
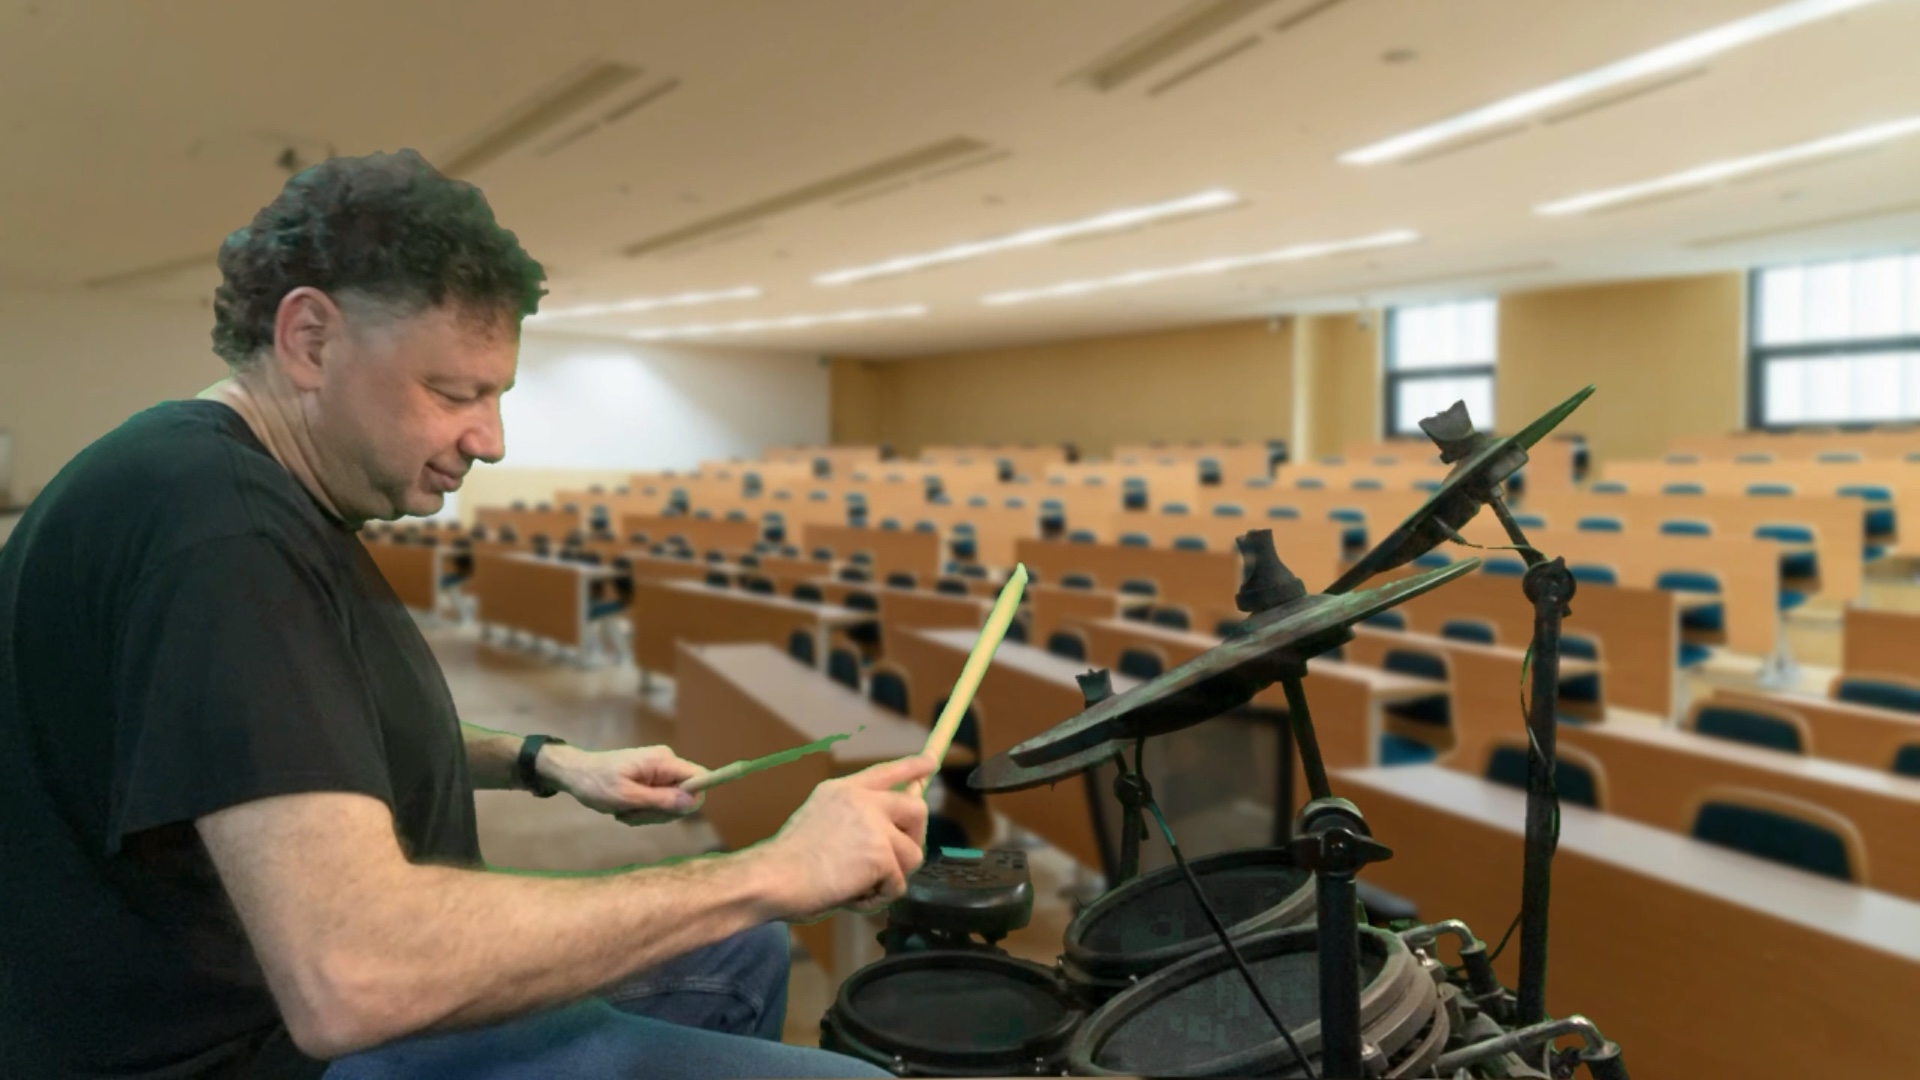 |
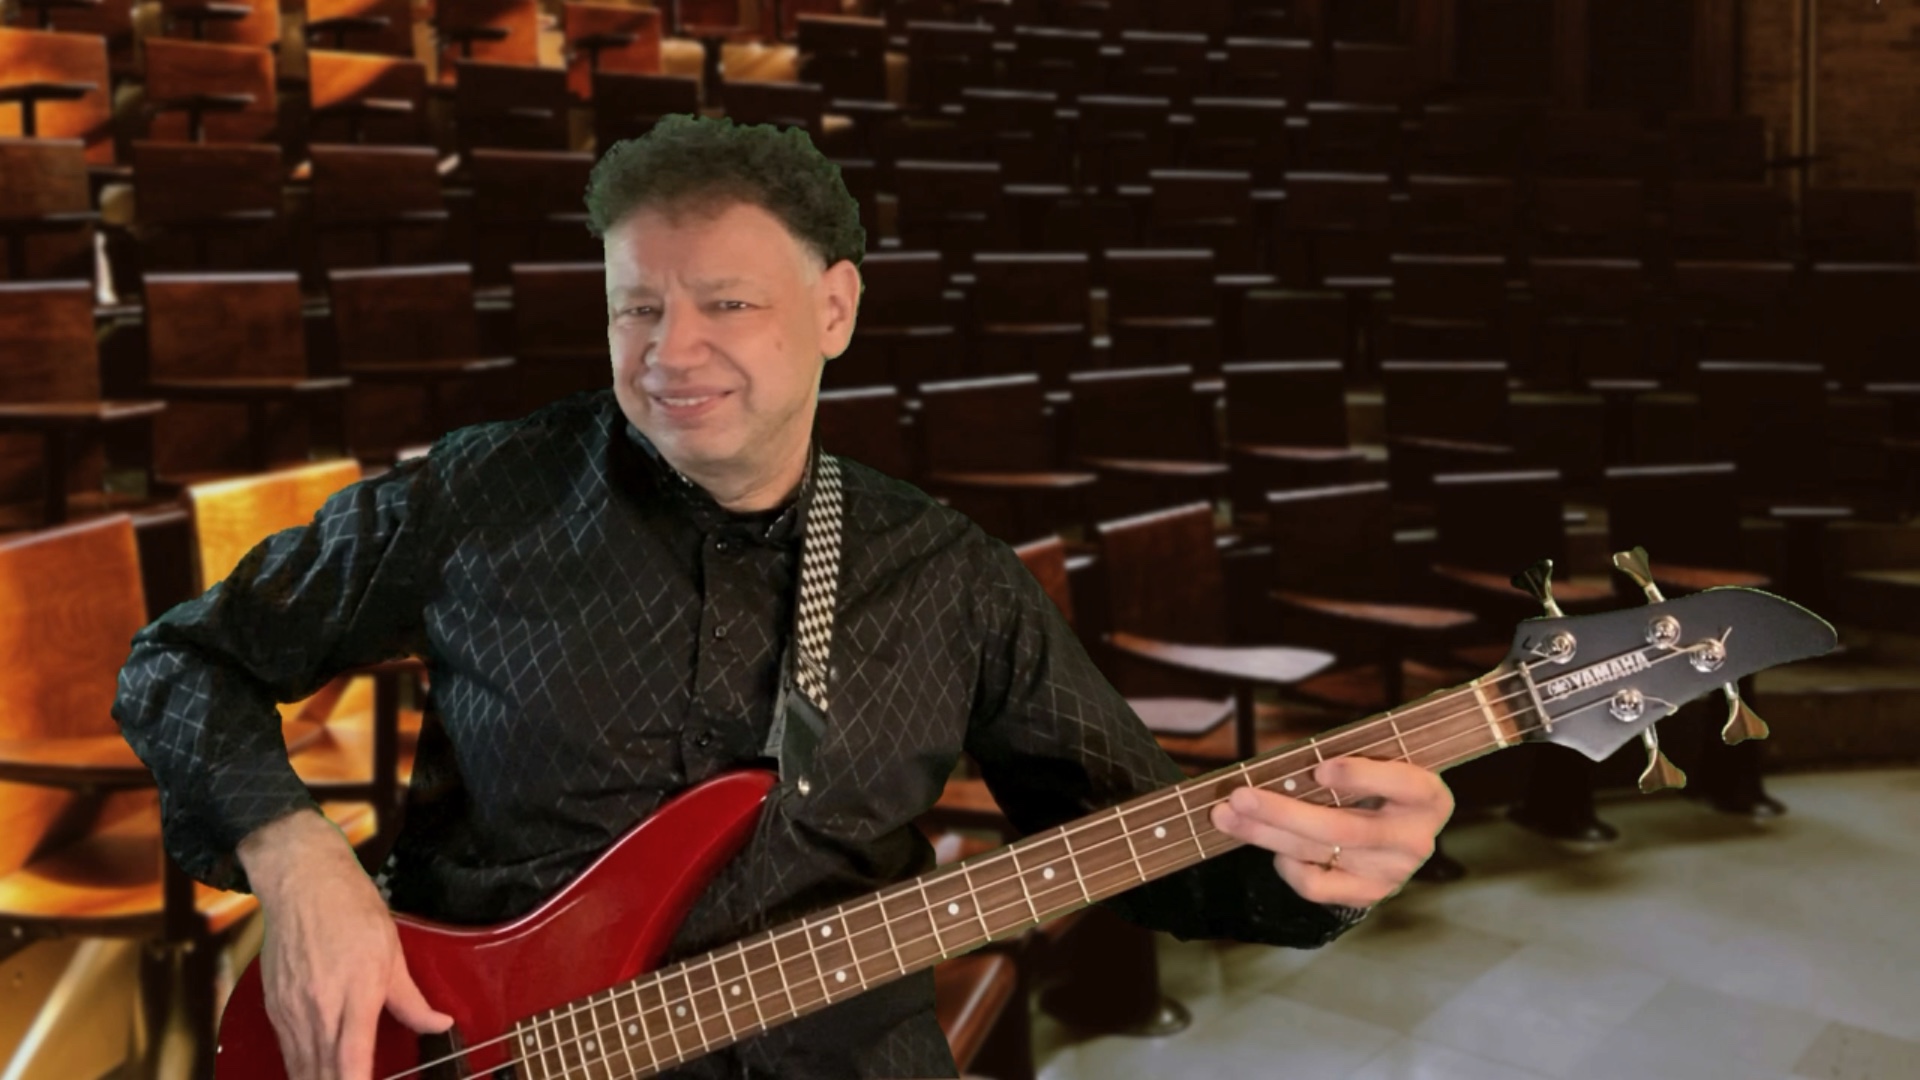 |
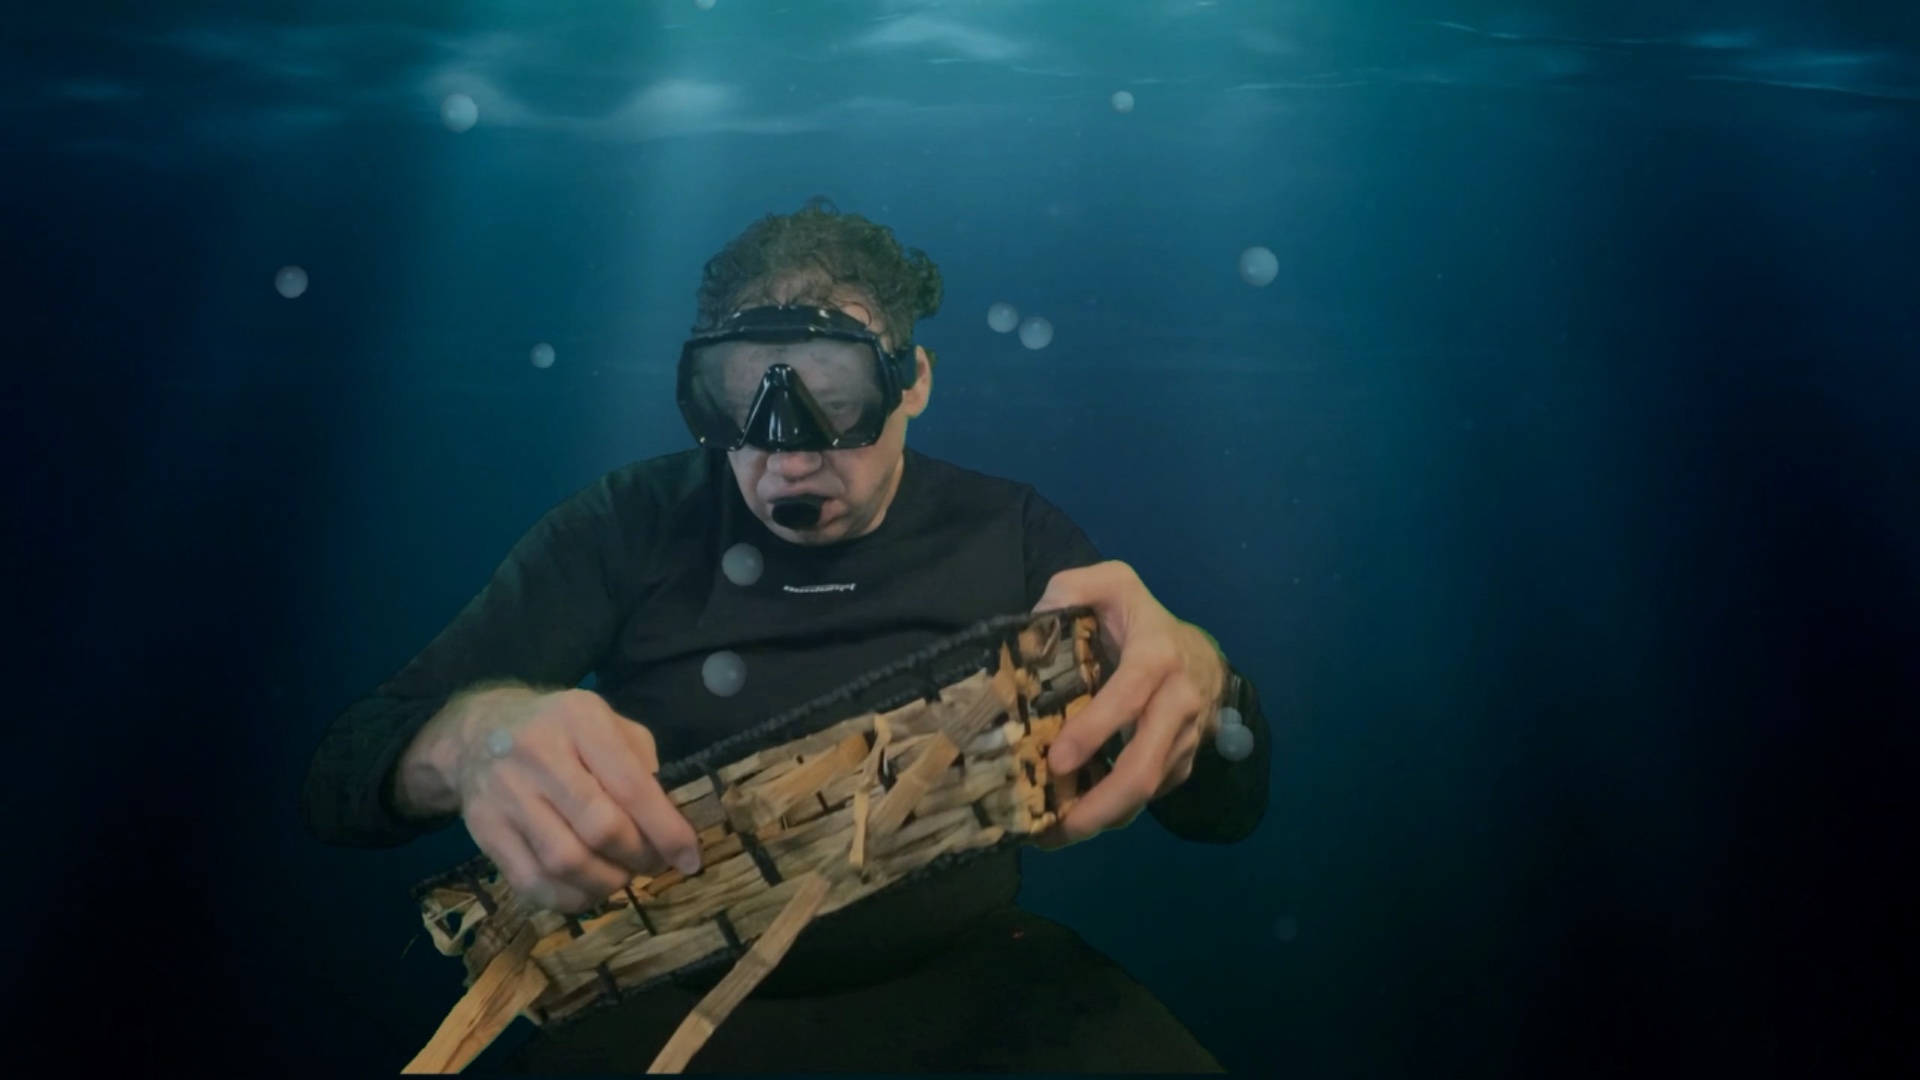
The key to making the whole thing work, though, was the underwater basket weaving shot.
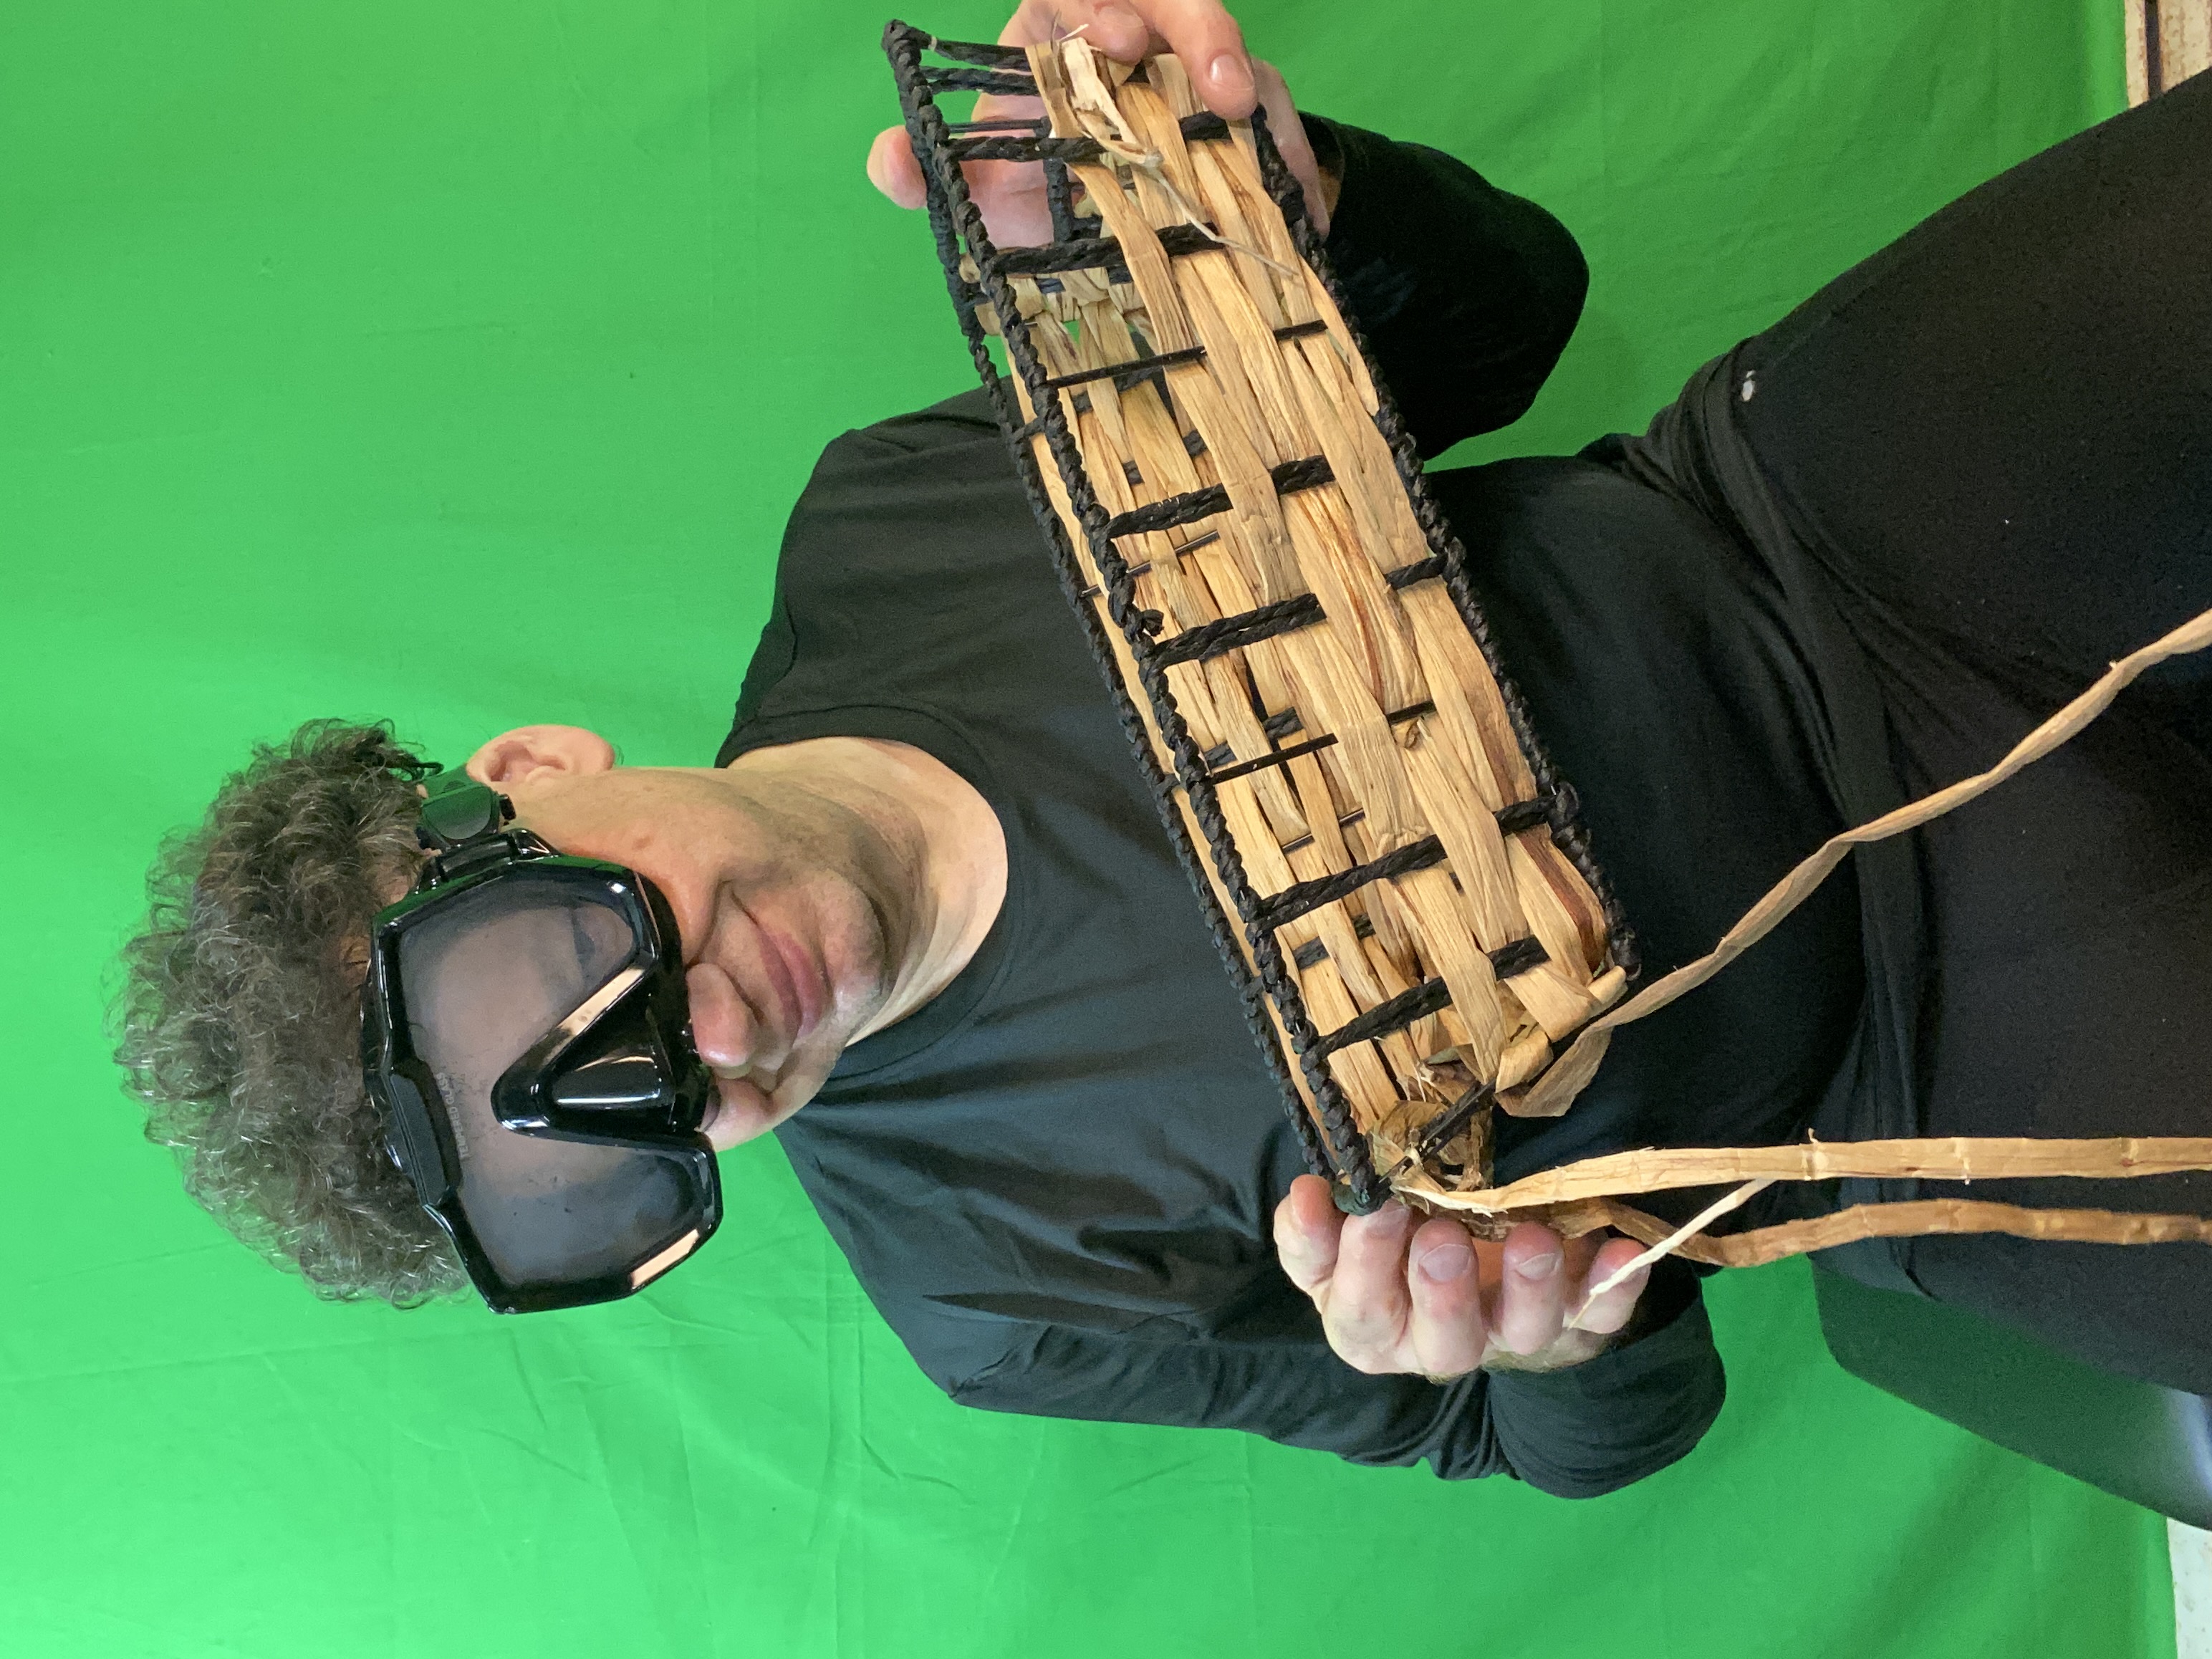
I was going to need at least enough SCUBA gear to sell the shot. So I ordered a mask and snorkel set. I possessed black tights (which I use for running) and a black thermal top (which I use for cycling in cold weather), which when combined, looked like a wetsuit. I'd also need a basket, which I picked up at the local dollar store.
I'd have to “unweave” a portion of this basket to then “re-weave” it when the camera was rolling. Bonus: I learned a bit about how to weave a basket in this way!
When I told my dad what I was up to (he's an accomplished photographer/videographer whose work is earning royalties on iStock), he suggested a brilliant idea. When I superimpose my green screen image on an underwater-like background, copy that background to the immediate foreground to make me look more like I'm in the environment. I could then make the foreground copy of the watery background semi-transparent so it looks like you're seeing me through water.
Putting the Pieces Together
I edit my videos in Cyberlink PowerDirector for Mac. PowerDirector offers a “particle” feature which adds simple computer-generated graphics as a layer to a video. I downloaded a “bubbles” particle effect and put it between the foreground and the green screen image of me. I could then select options for these animated bubbles, like how big/small they should be. I could choose for more or fewer bubbles. I could set a speed for how quickly or slowly they rise.
As a finishing touch I slowed down the video speed by about 10%, since water tends to slow down our movements.
My process when combining green screen shots with backgrounds is to produce each shot as its own video, and then make a final video project combining all the shots so I can cut between them in time with the music. This cuts down on undesired interactions between the different green screen cutouts and prevents the computer from slowing down and freezing trying to process all this data.
To put it simply:
Step 1: Choose a background and place it on the timeline.
Step 2: Place the green screen footage on the track below the background.
Step 3: Apply the background removal effect so the footage appears to be in front of the selected background.
Step 4: Ensure the background stays on screen exactly as long as the footage.
Step 5: Export this video; set it aside for the final video.
Repeat these steps for each shot.
How to capture green screen footage
I have a green backdrop hanging in my home studio. You can easily get one from a photography store, either just the backdrop to hang on your wall or a backdrop and stands set so the backdrop can be movable and freestanding.
It's important to light the backdrop so the computer can more easily “see” the color you're asking it to remove. I use two lights on either side of the backdrop - behind me and out of the camera's frame, angled in toward the backdrop from either side.
Then you must also light yourself. Too lights for the subject work best, so you don't end up with half your face in shadow from the light on the other side of your face. So you'll need a total of four lights. LED technology has really brought down the price of video lighting. Also important - when using a green screen, don't wear green! Otherwise, you'll appear to be a floating head! (unless that's the effect you're going for…)
I hope you enjoyed watching this video and learning how it was made as much as I enjoyed making it! If you make your own videos using these techniques, let me know about them in the comments.